8.3 Table Monitor
- The monitoring table monitors and modifies variable values in the PLC in real time during the debugging process, including supporting multiple variable types and creating multiple monitoring tables to meet different debugging needs. It is an important tool for debugging PLC programs
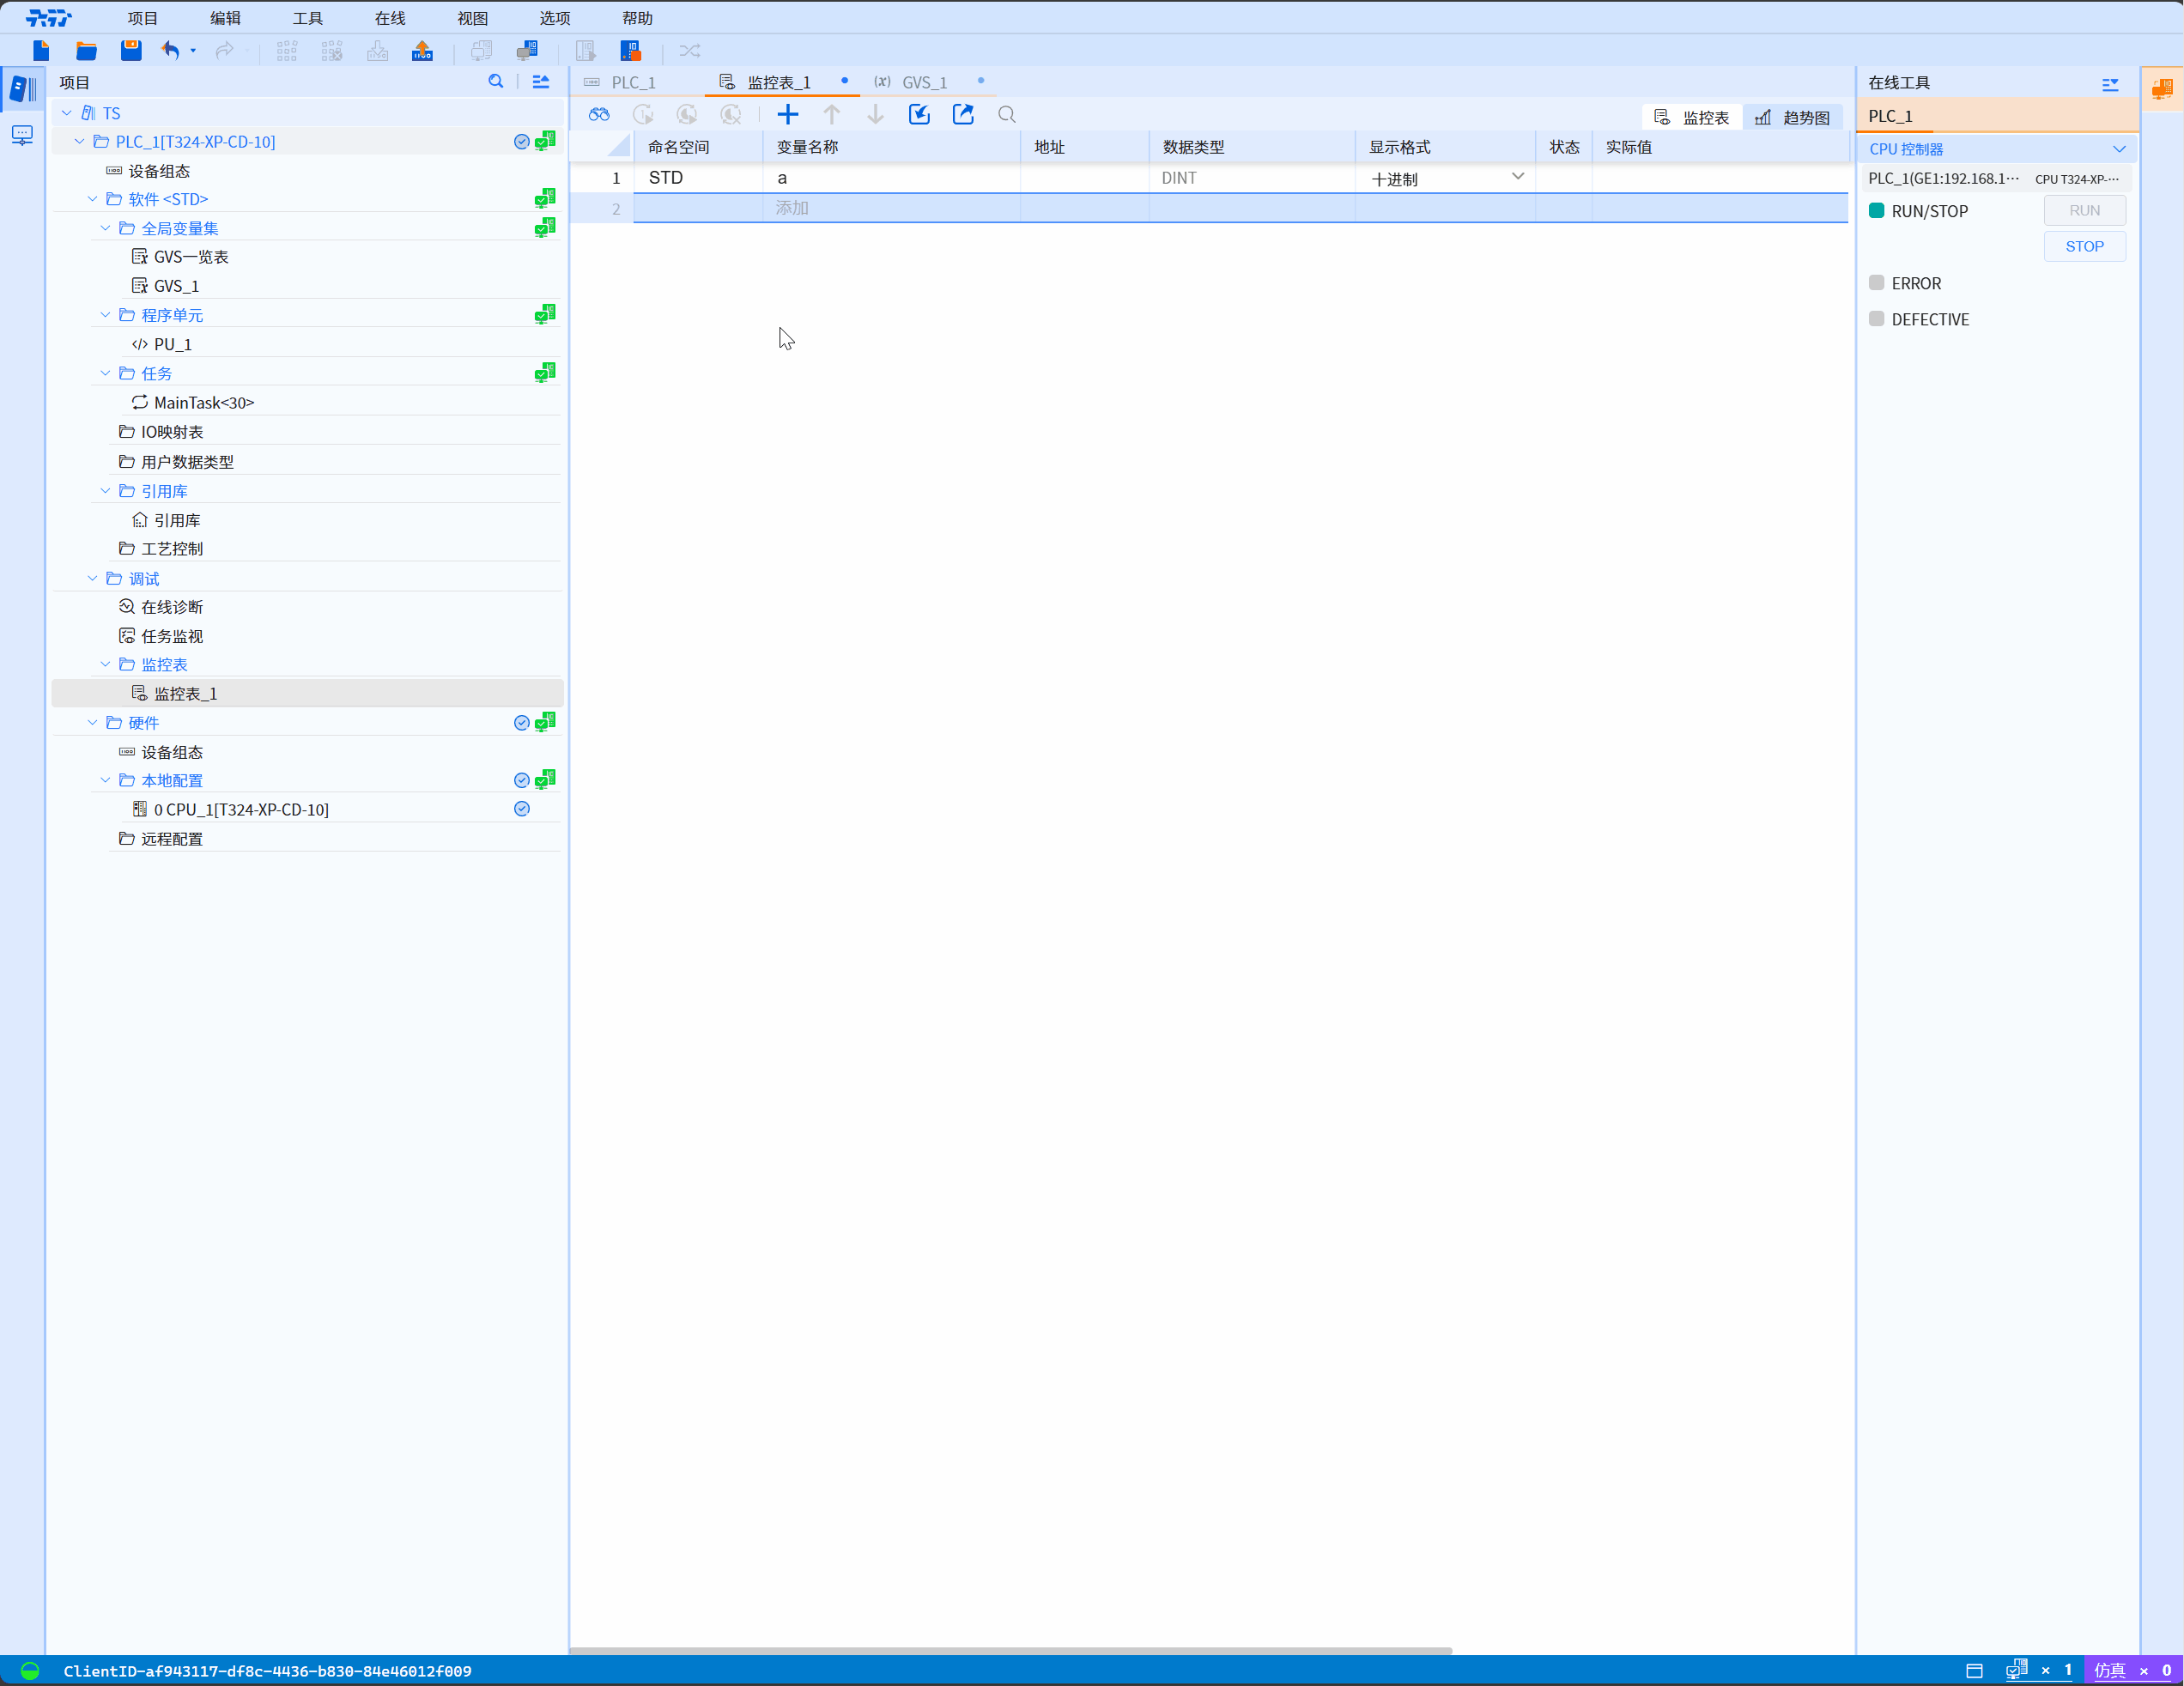
8.3.1 Add monitoring table
- Right-click Monitoring Table in the Project tree
- Click Add Monitoring Table in the submenu to complete the addition of the monitoring table
8.3.2 Add variable
8.3.2.1 Directly add variable
- Directly click Add in the Variable Name column of the Monitoring Table
- Click the variable to be added in the prompt box to complete the variable addition
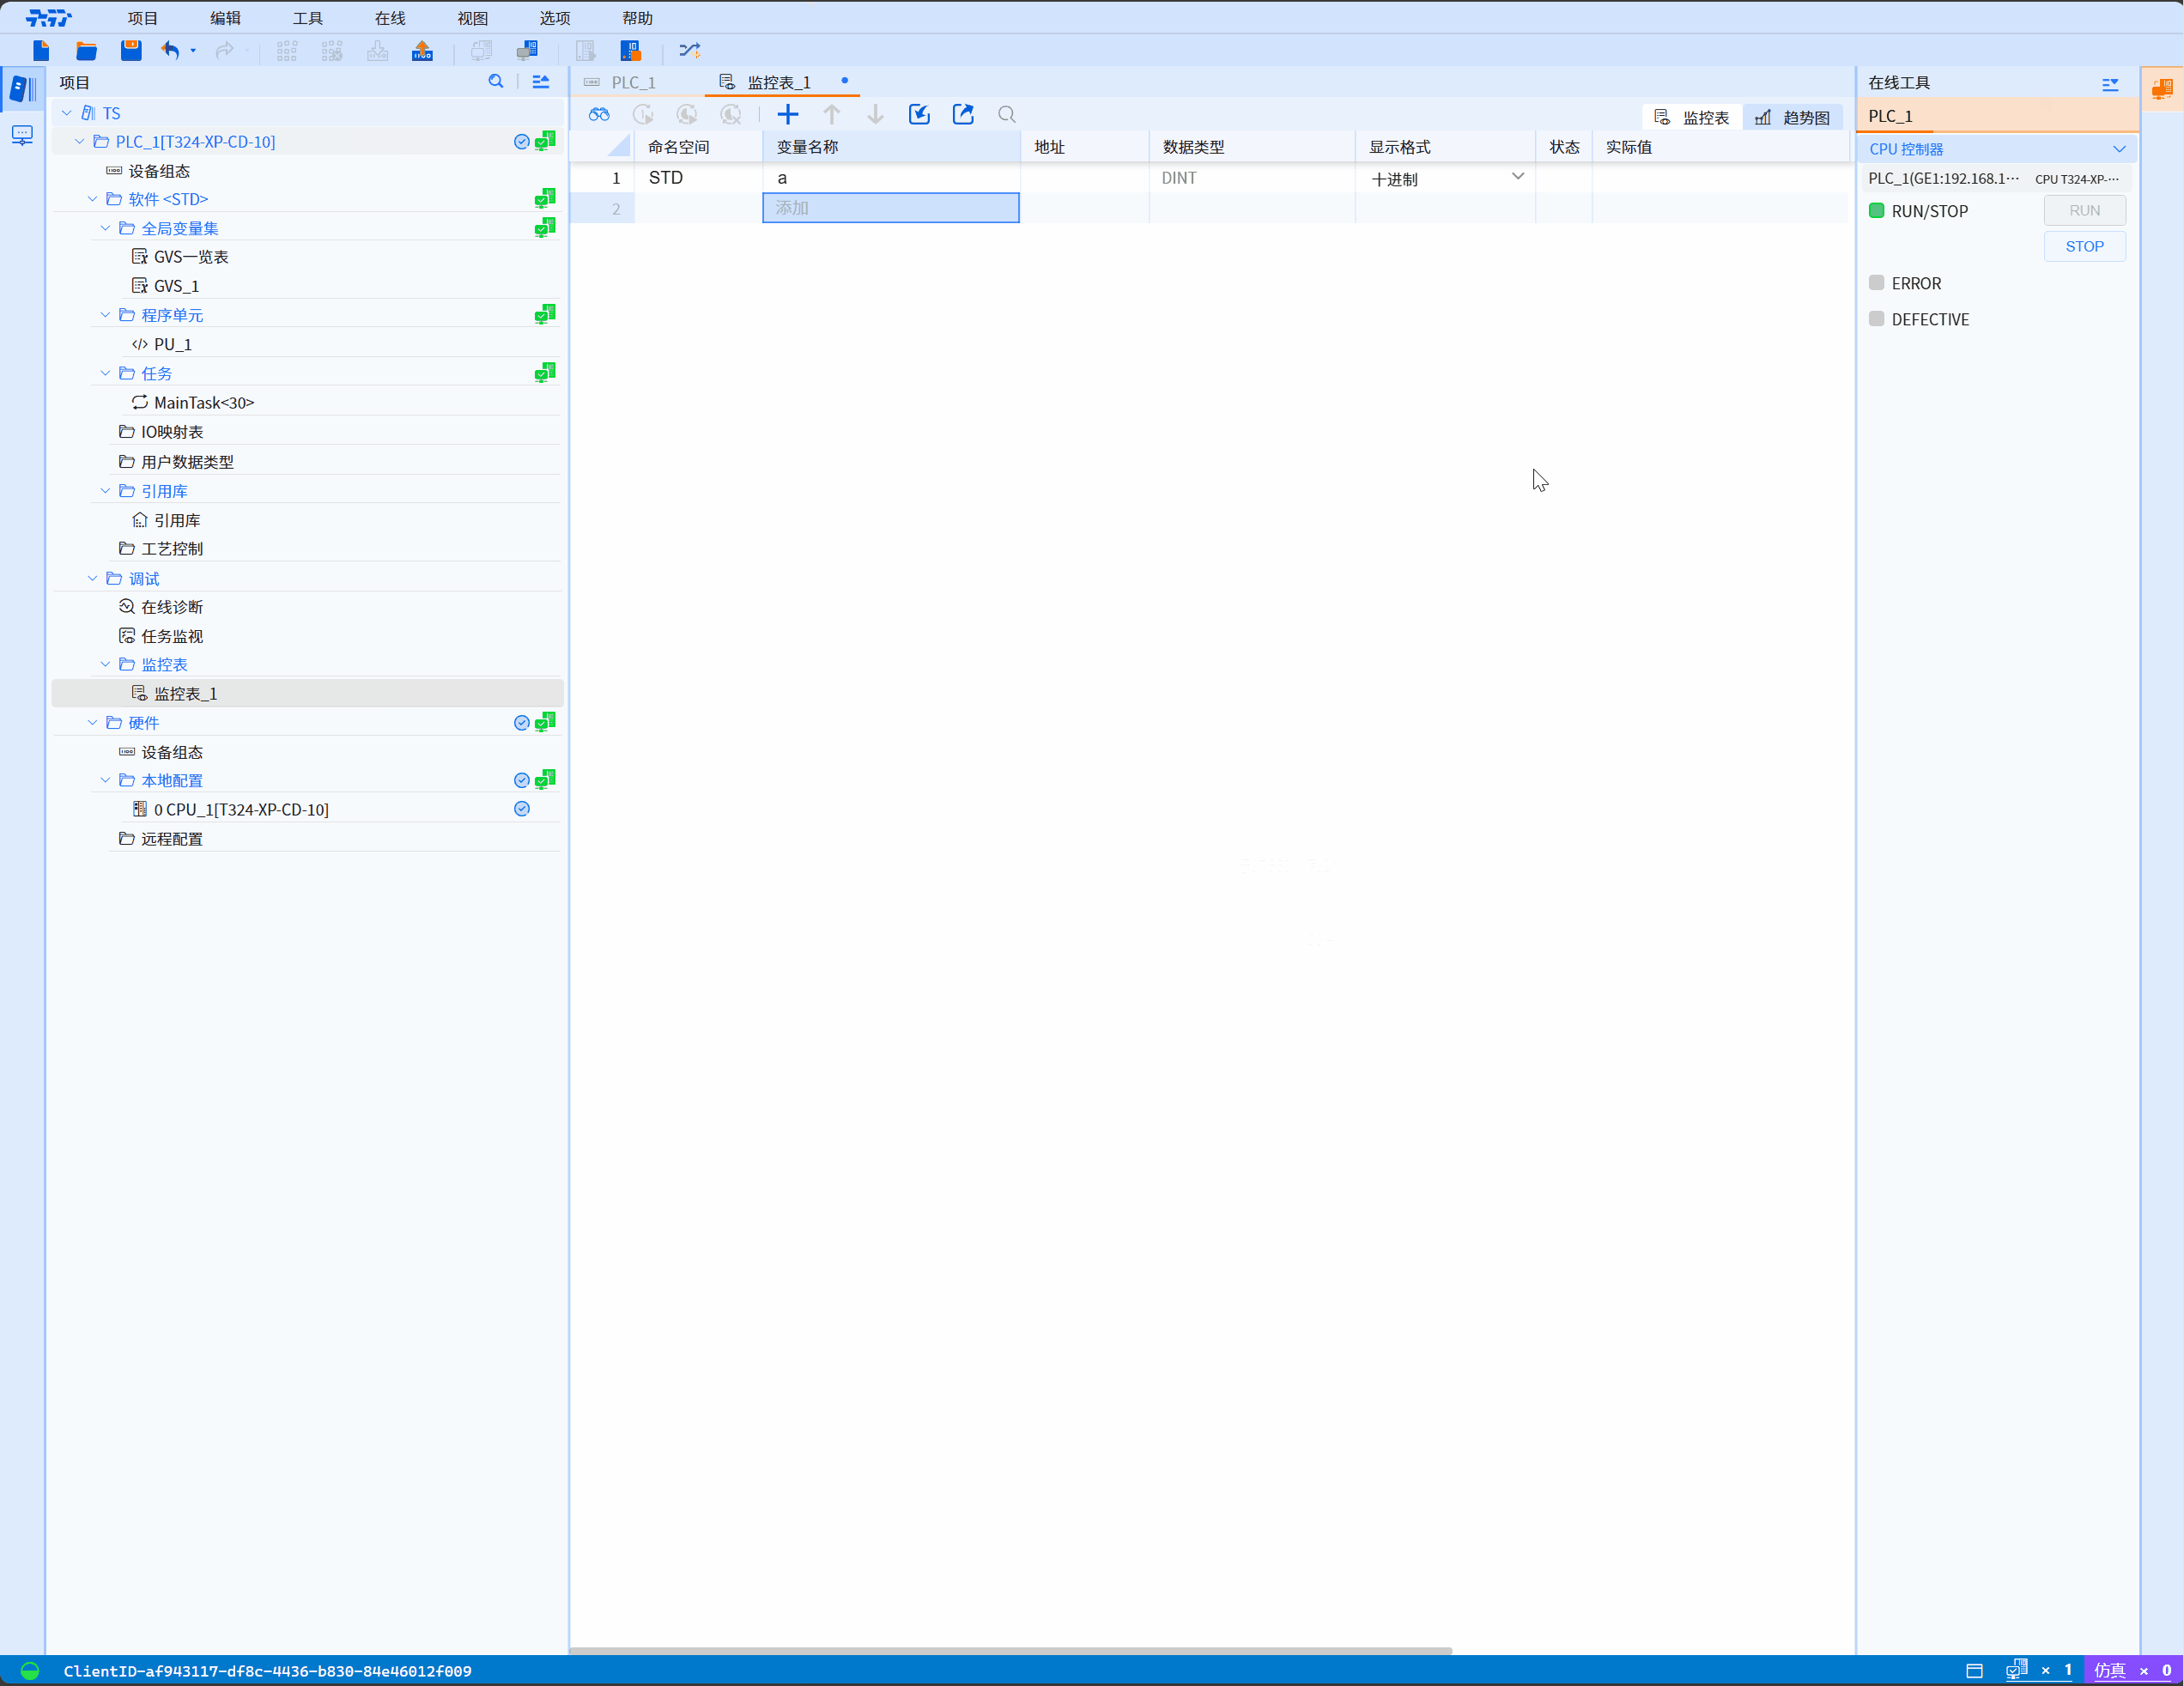
8.3.2.2 Add the table first, then add the variable
- Click the Add Row icon of Monitoring Table
- Click the variable name corresponding box in the newly added row
- Click the variable to be added in the prompt box to complete the variable addition
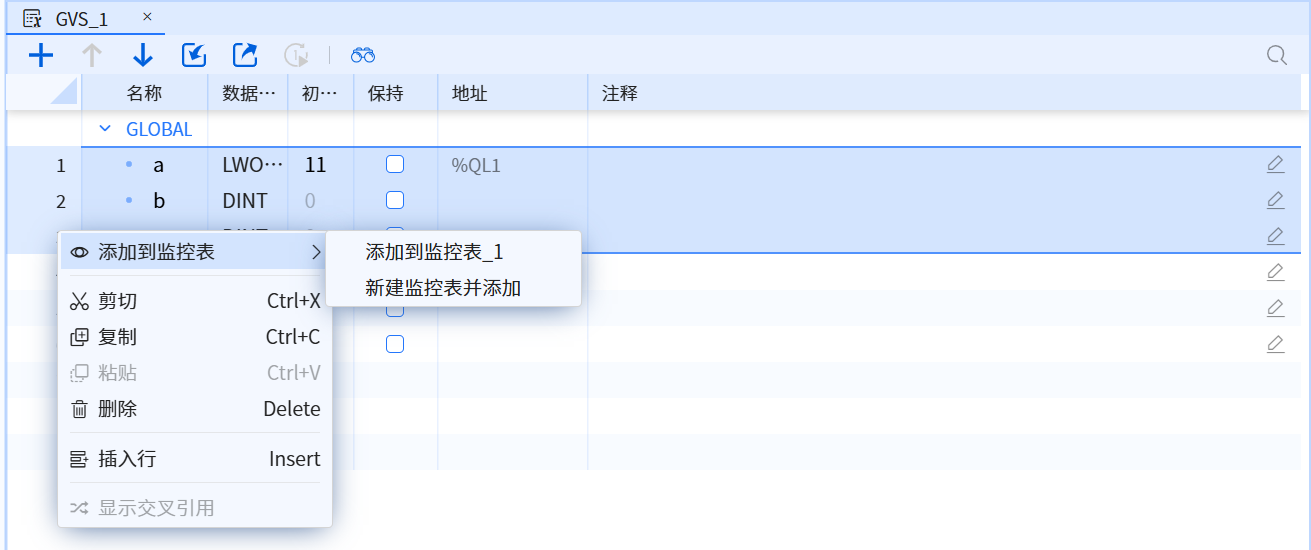
8.3.2.3 Batch adding variables in GVS
- Multi-select the variables in the GVS variable table.
- Right-click to add to the monitor table, then you can choose to create a new monitor table or add to an existing monitor table, as shown in the following figure
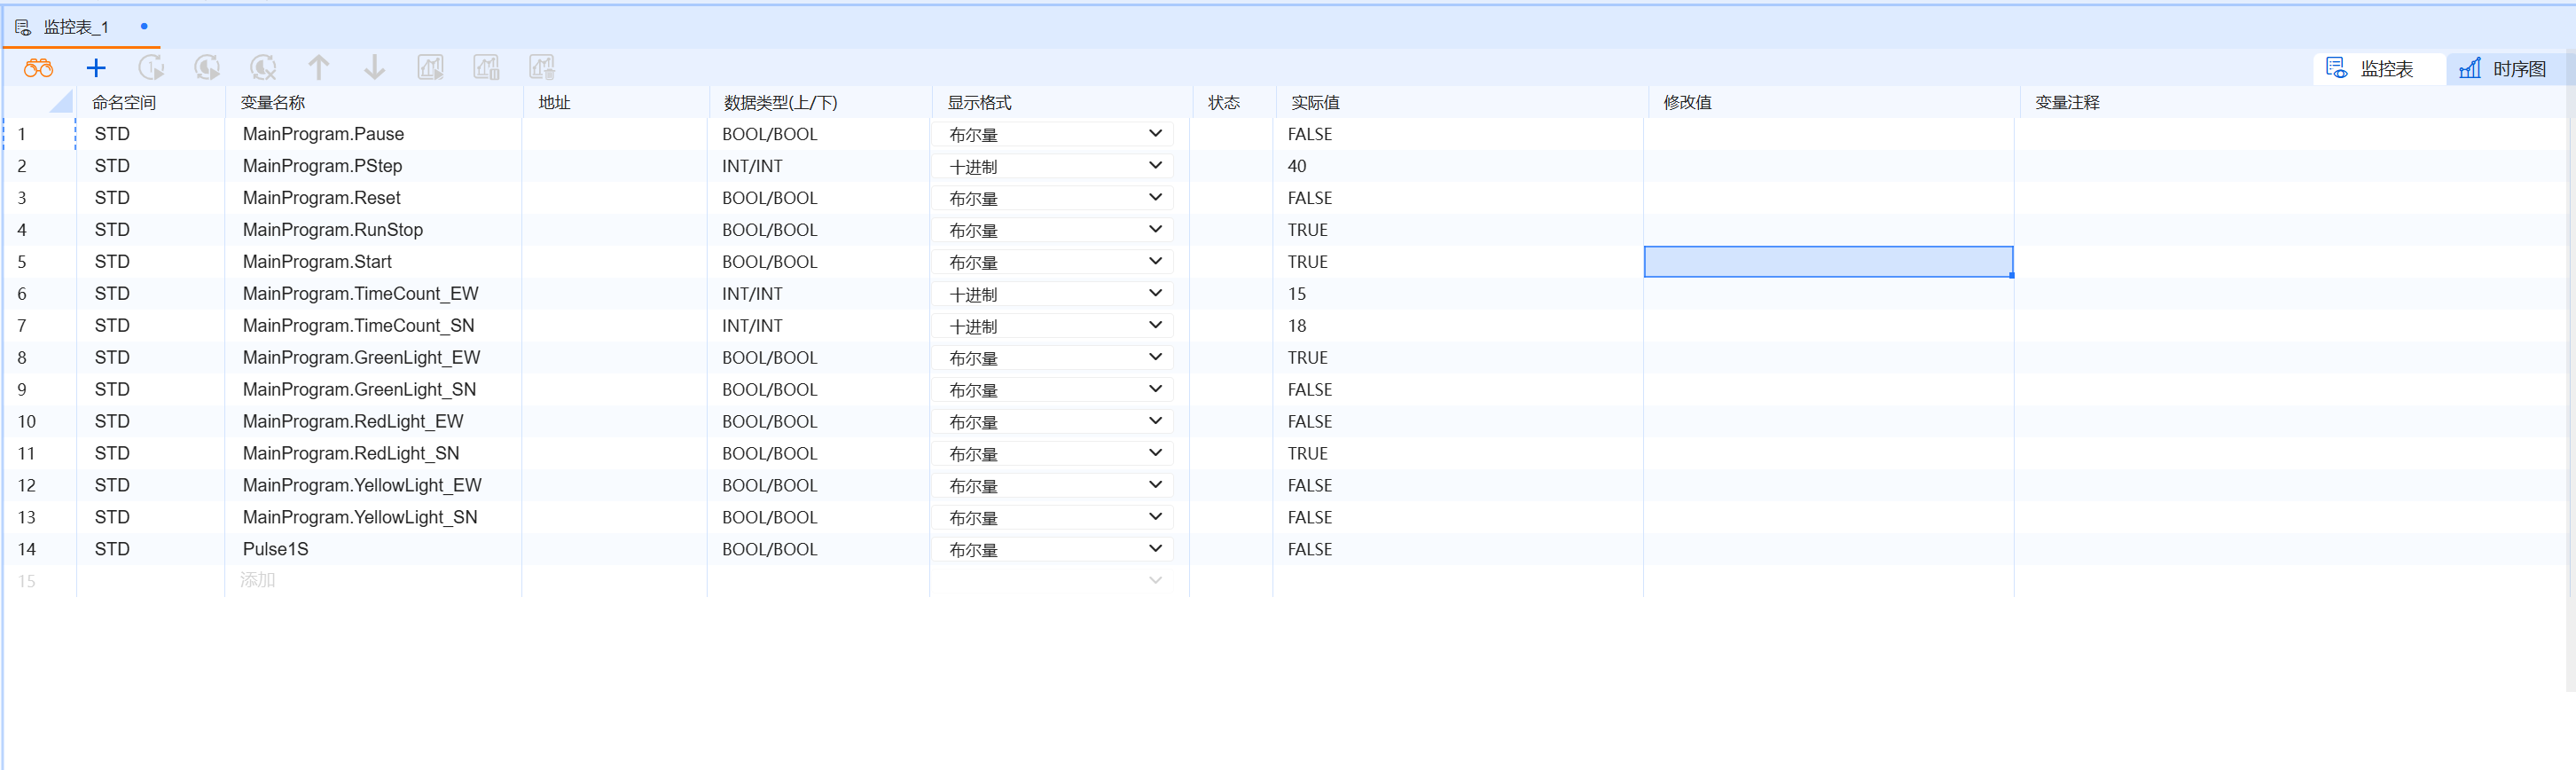
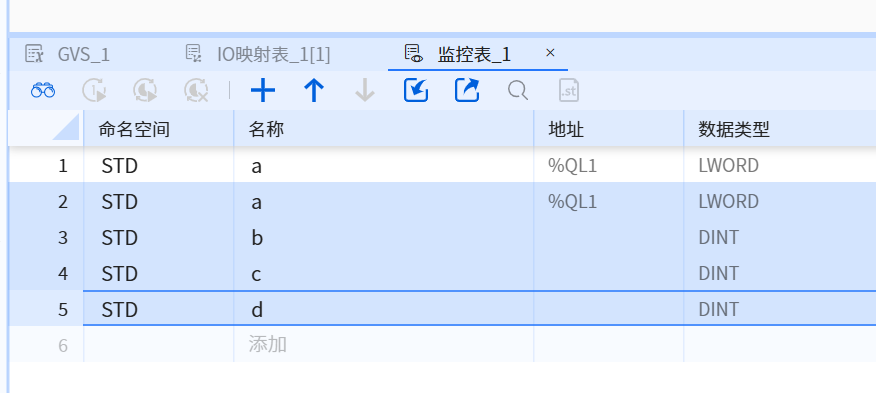
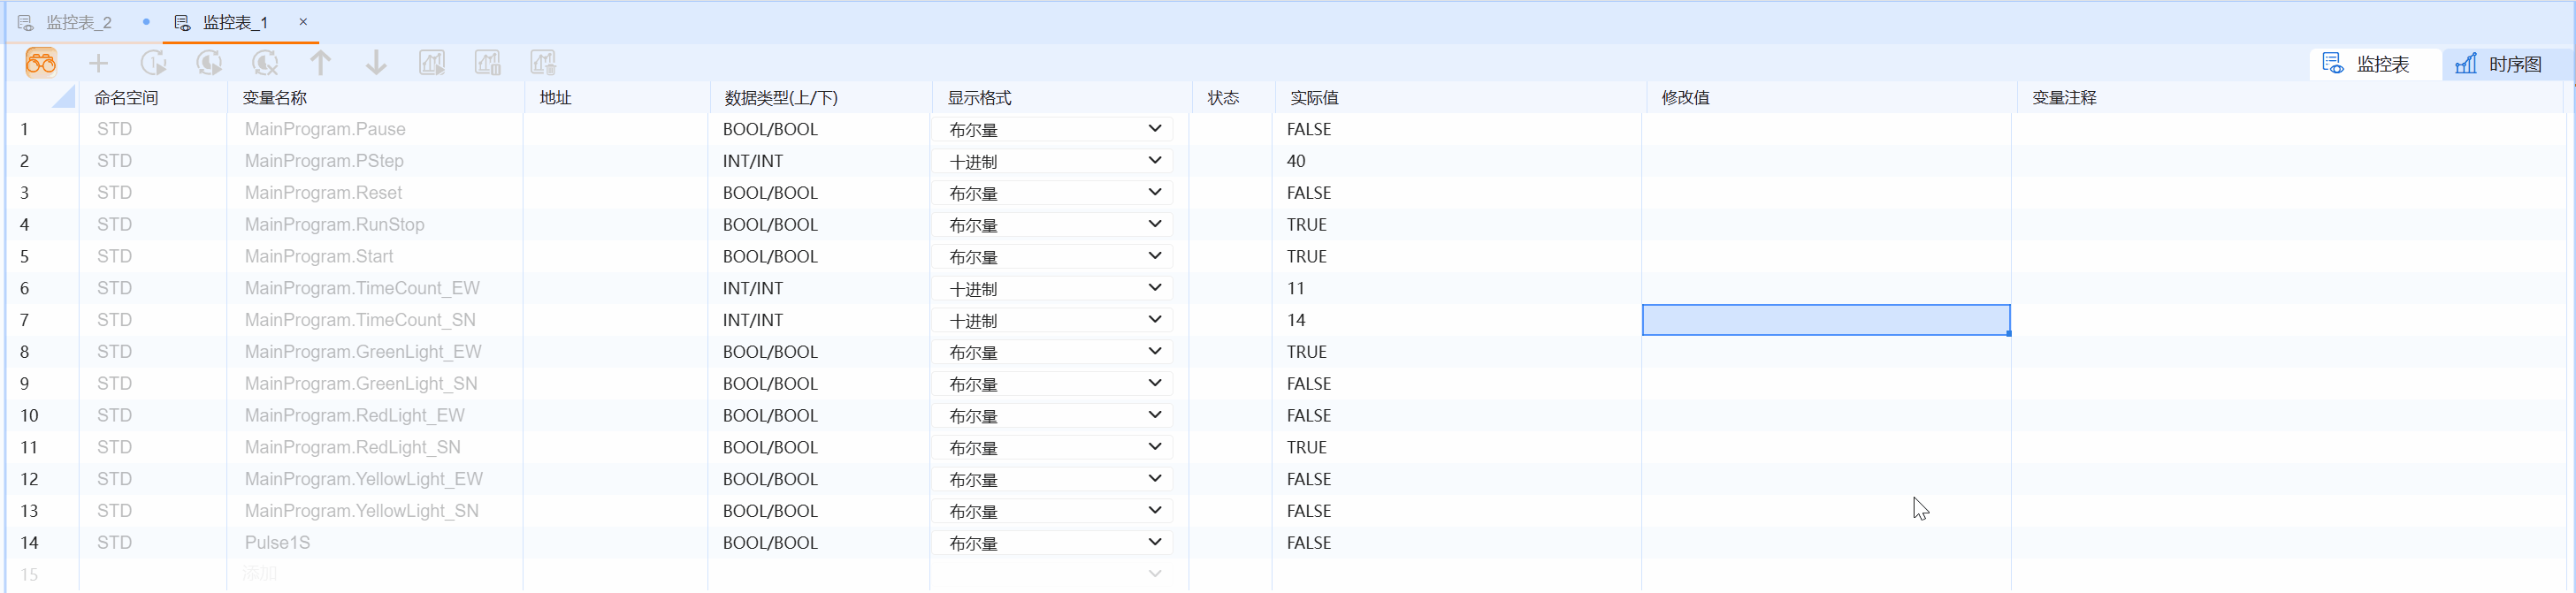
- After adding the monitoring table, the content of the monitoring table is shown as follows
8.3.3 Monitoring variables
premise
The monitored variables have been downloaded to the PLC for operation
- Click the monitoring icon of monitoring table to successfully monitor the variable

8.3.4 Delete the added variable
8.3.4.1 Delete the variable by deleting the table
- Select the row of the table corresponding to the variable to be deleted
- Click the delete row icon of the monitoring table to successfully delete the variable
8.3.5 Write once
premise
PLC is in RUN state
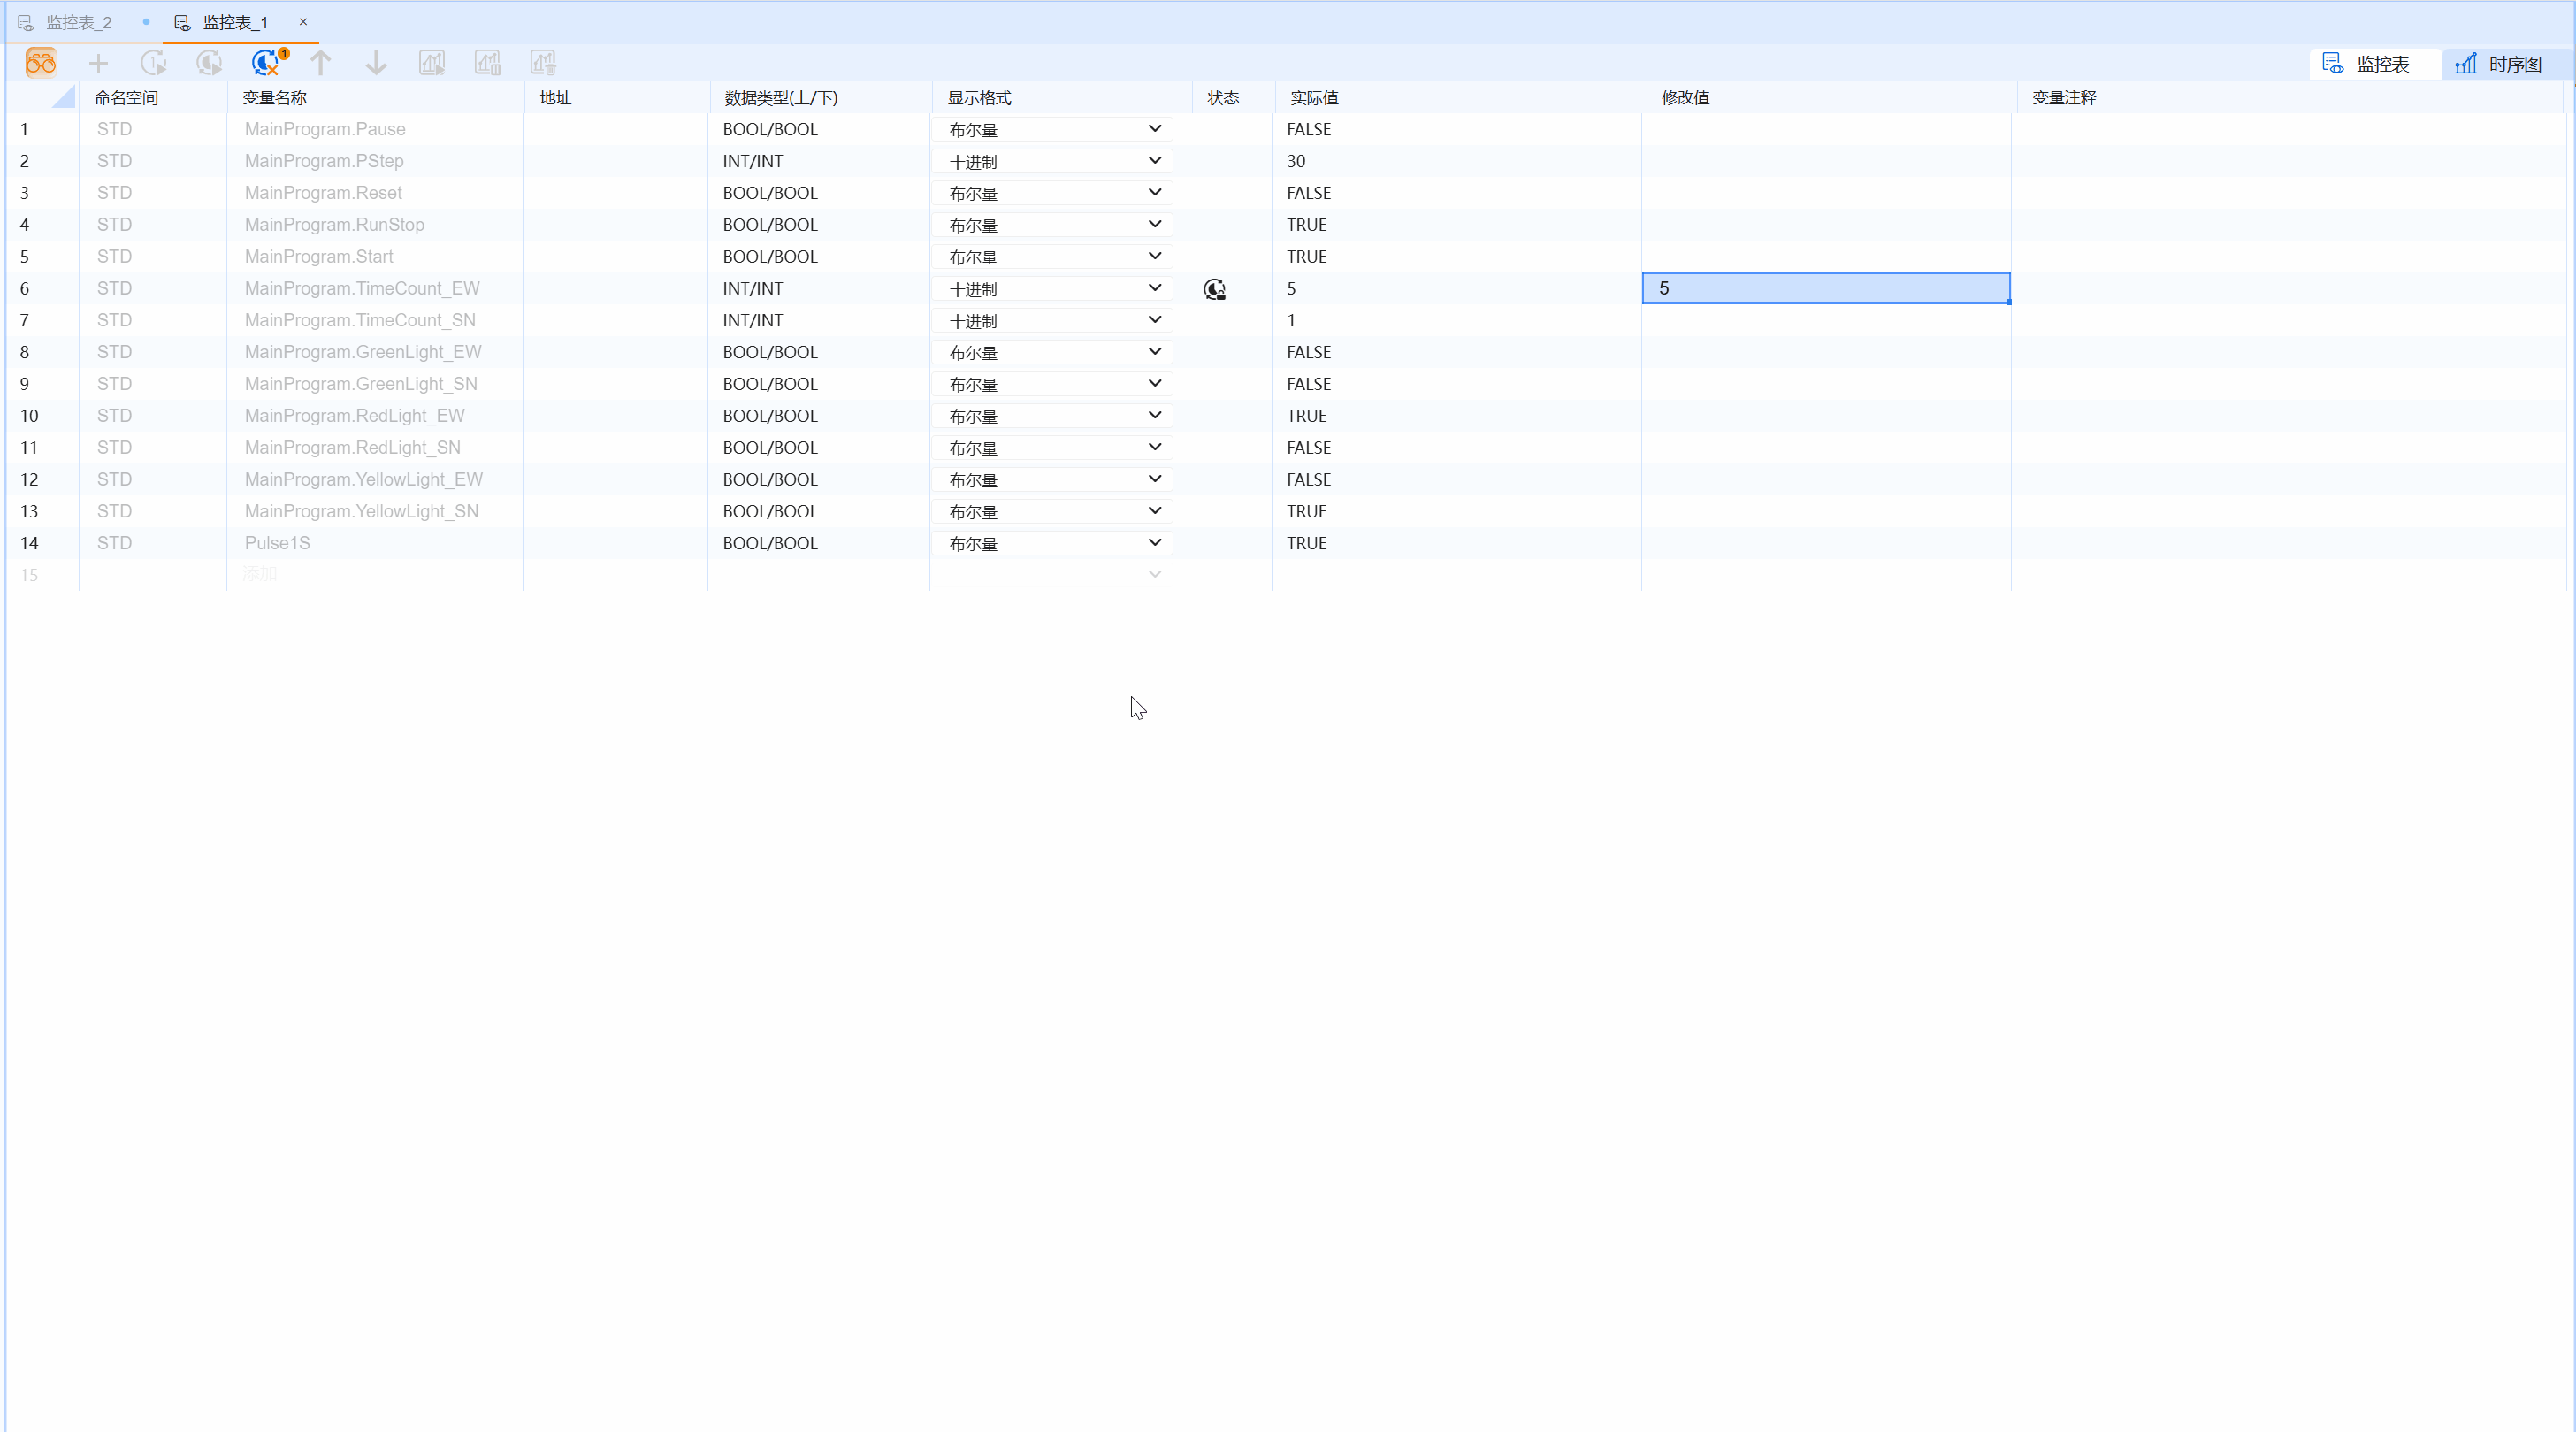
- Enter the modified value in the modified value box corresponding to the variable whose value needs to be written
- Click the Write Once icon of the monitoring table
8.3.6 Online continuous writing
premise
During the online continuous writing process, the PLC is in the RUN state, and the connection between the upper computer and the lower computer cannot be interrupted
- Enter the modified value in the modified value box corresponding to the variable that needs to be written
- Click the Online continuous writing icon of the monitoring table
8.3.7 Cancel online continuous writing
premise
PLC is in RUN state
- Click the Cancel Online Continuous Writing icon of the monitoring table
- Check the corresponding variables in the Cancel Online Continuous Writing window
- Click OK to complete the cancellation of online continuous writing
NOTE
If Clear Modified Values is checked in the "Cancel Online Continuous Writing" window, the Modified Values box of the monitoring table will be cleared. Otherwise, after canceling the online continuous writing, the modified value will still be retained
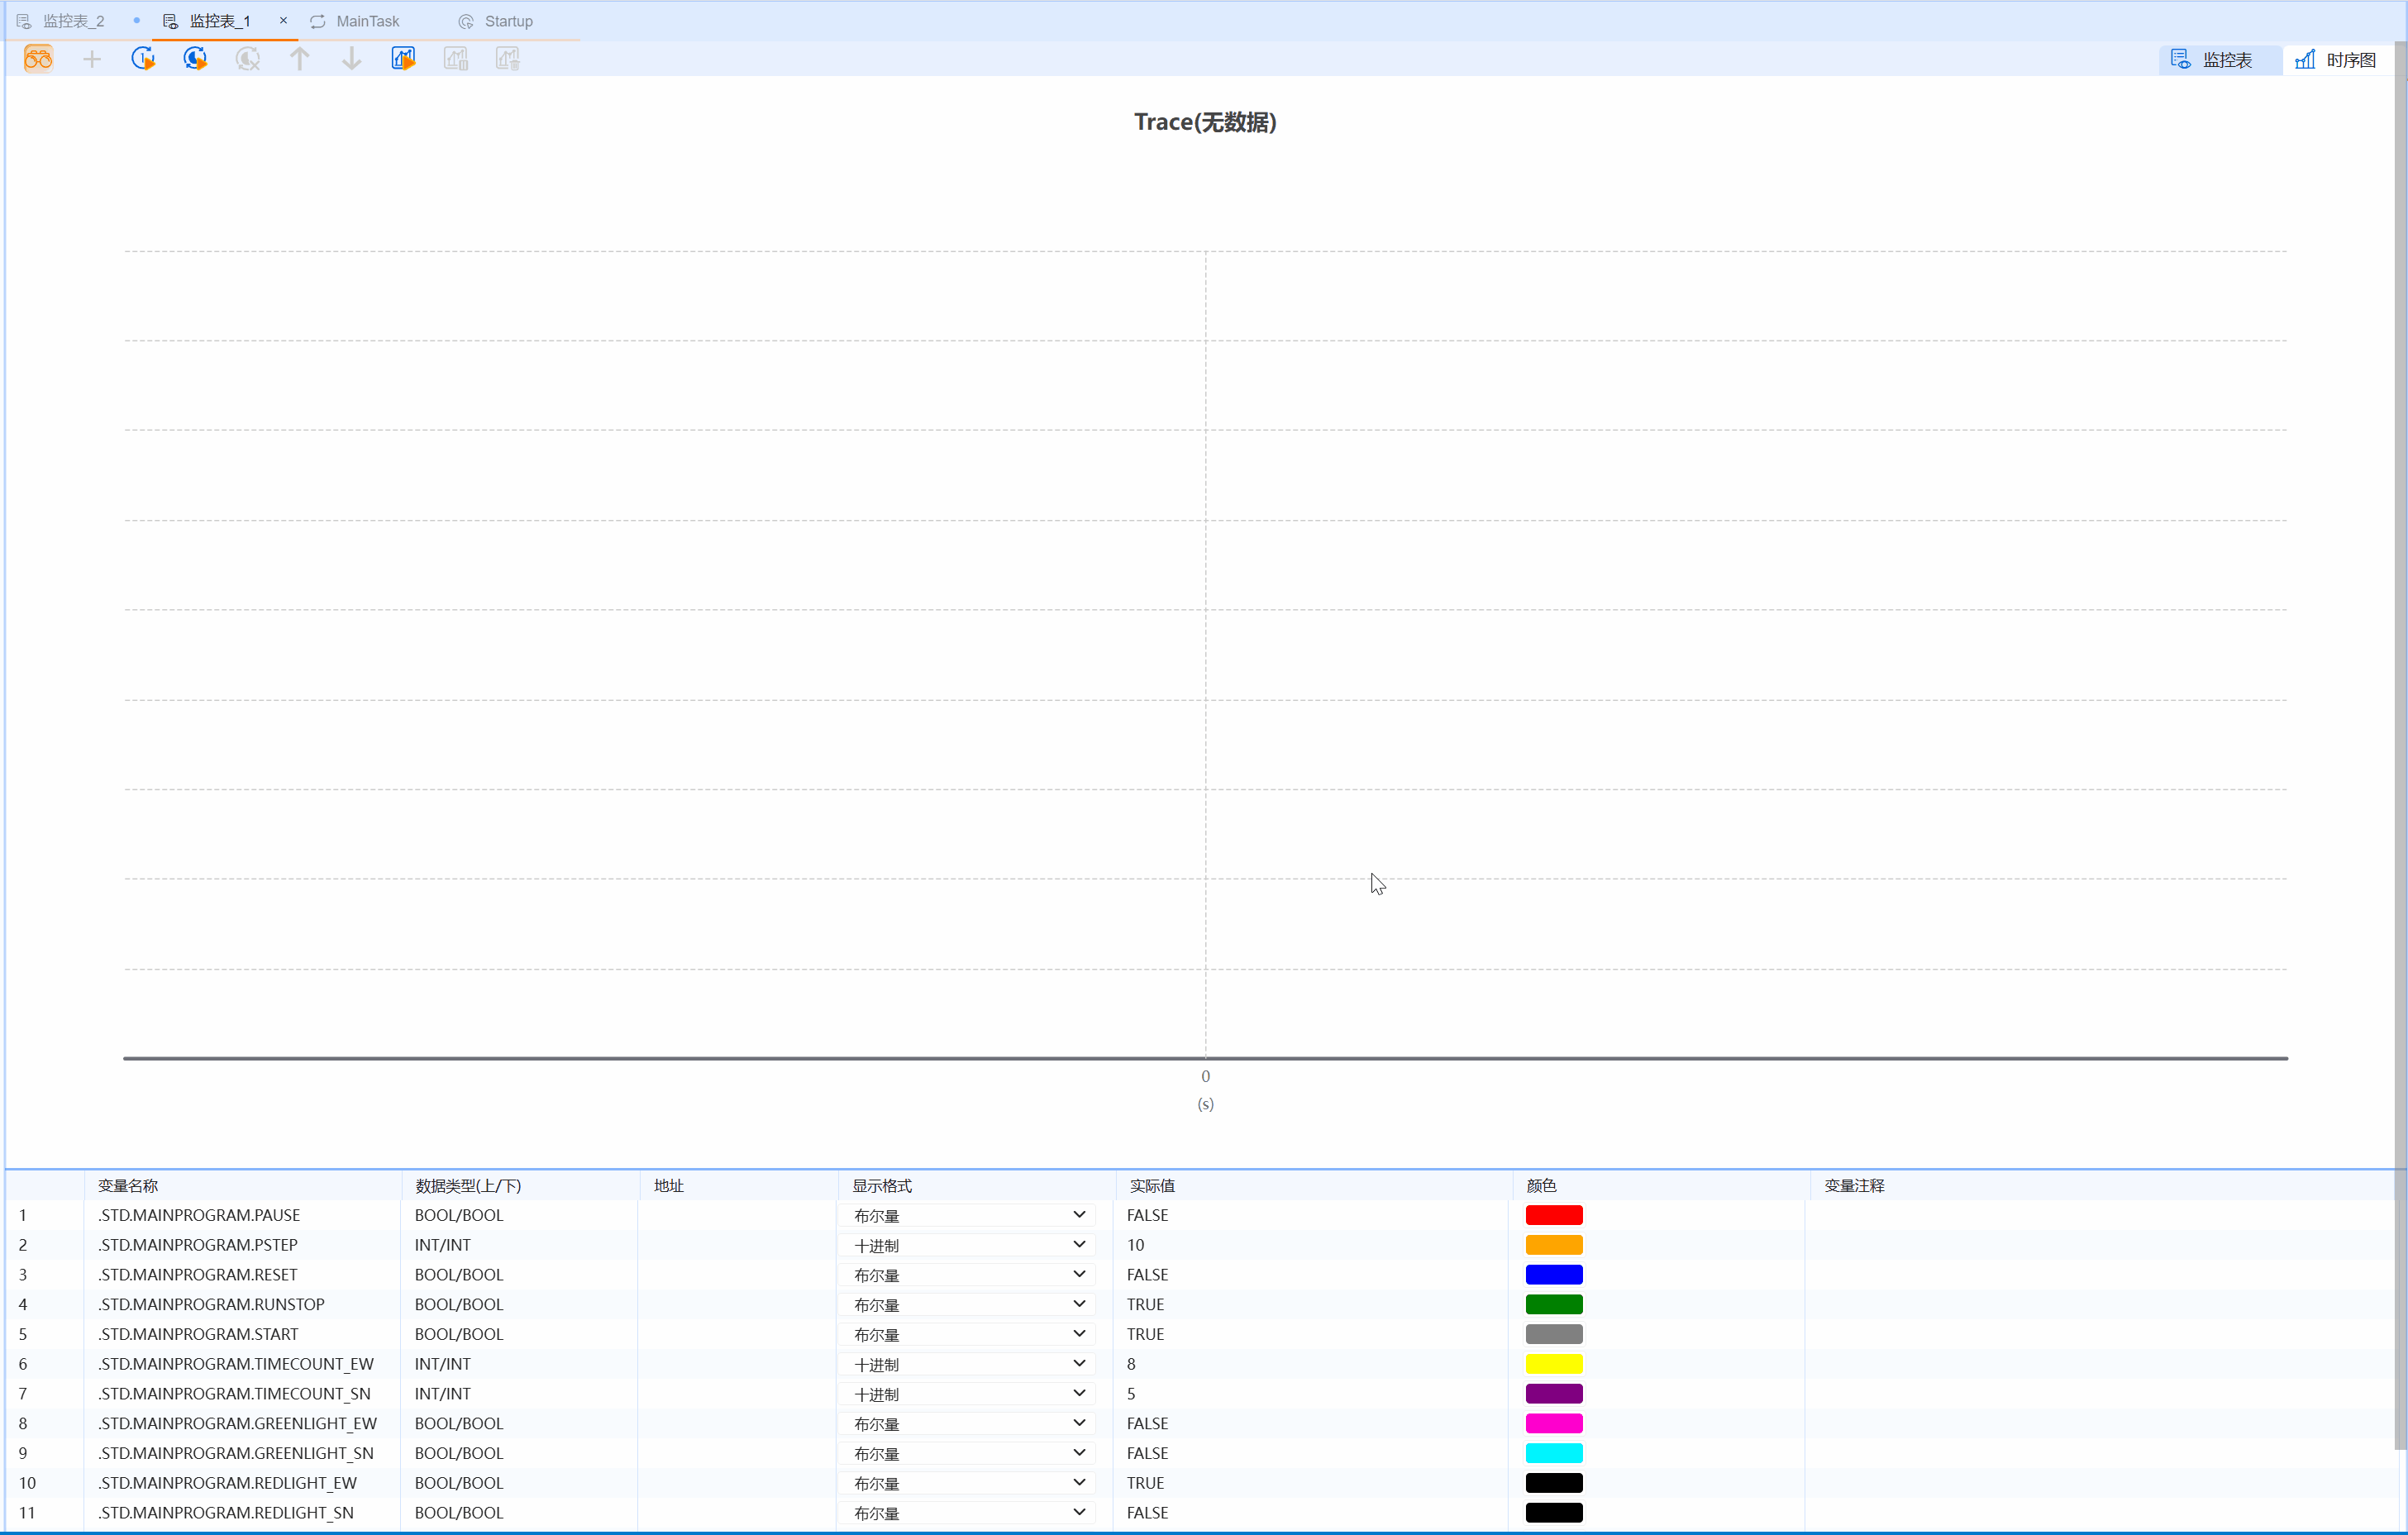
8.3.8 Sequence diagram
premise
The variables that need to be monitored are already in the monitoring table and are in monitoring status
- Click on the Sequence Diagram in the monitoring table
- Click the Start icon of the sequence diagram
- Click the stop icon of the timing diagram to stop the trace
- Click the Clear icon of the timing diagram to clear the trace record